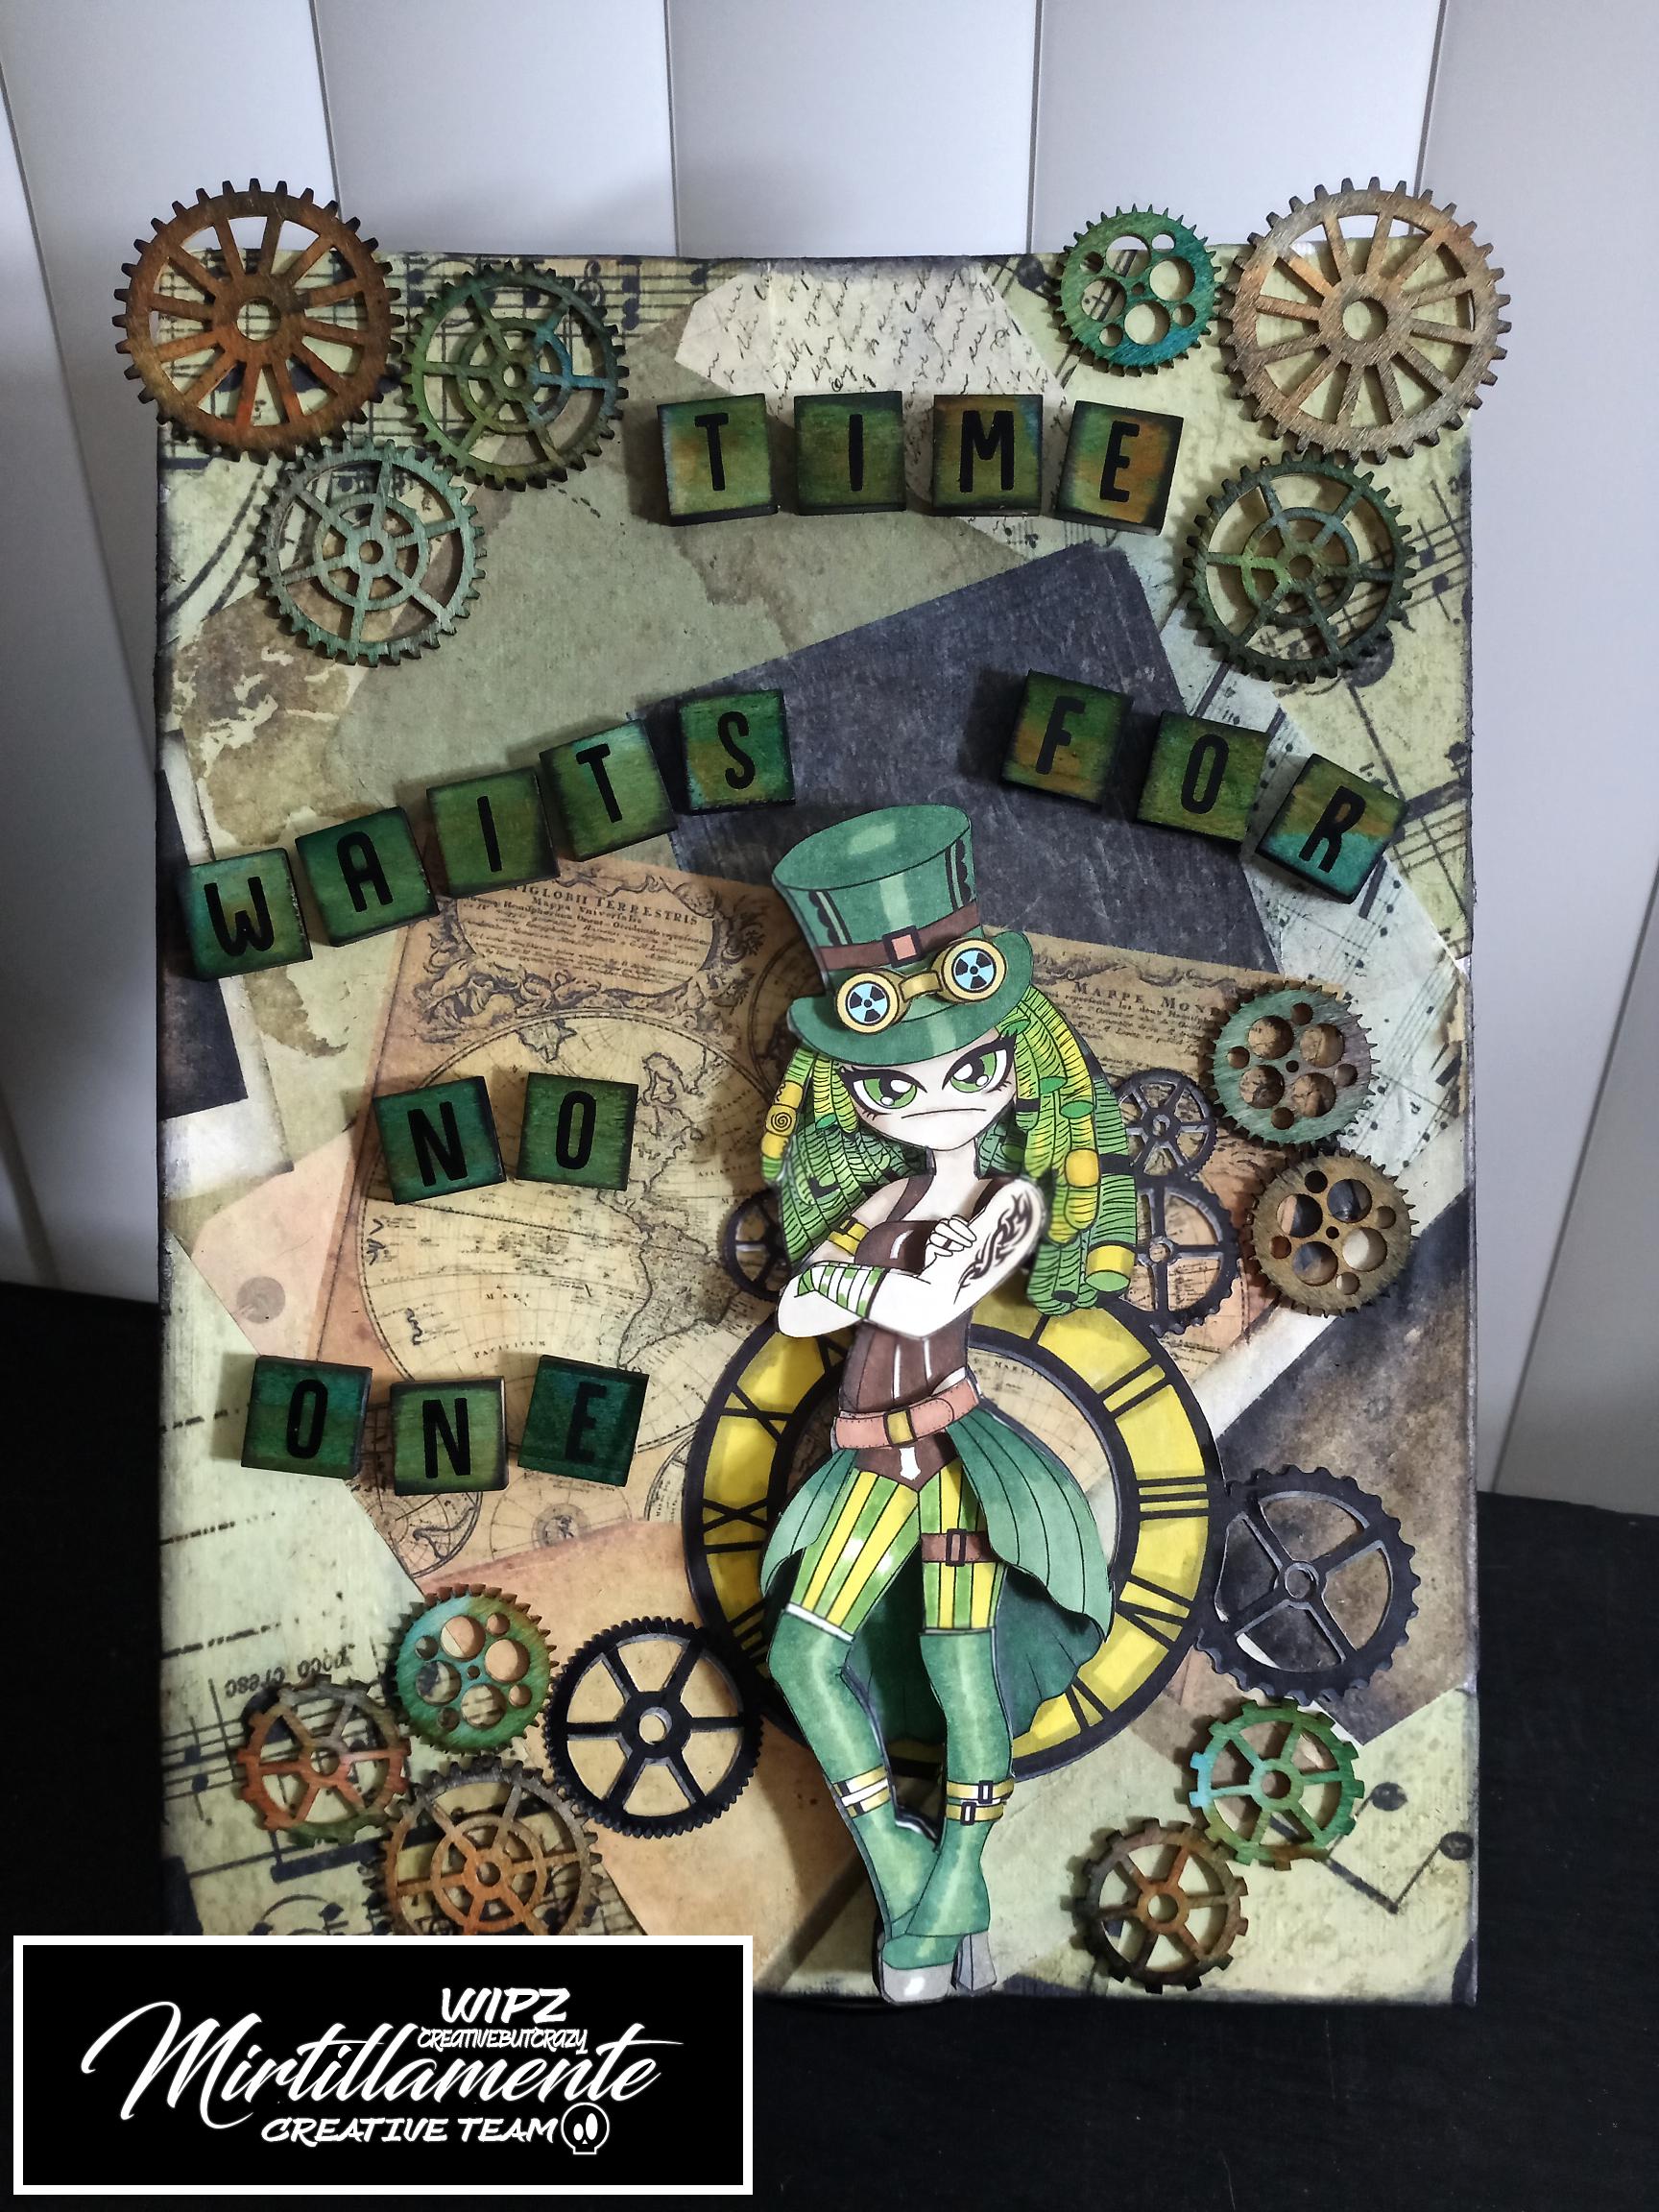
This is my January 2021 Project with the Mirtillamente Creative Team featuring Mirtillamente digital papers VINTAGE PAPER and Mirtillamente digital stamp SO’GETTA STEAMPUNK GEARS. I created a canvas panel wall art piece with 3D decoupage and wooden embellishments.
The theme seemed very appropriate for the way this week has been *rolleyes. I won’t go in to details, but let’s just say my head was elsewhere…I got my projects back to front, so I was late posting this thinking it was due next week, I had another project almost ready, but had to put that on a back burner because posting it would have messed up the next project post… which is actually due next week lol. Yeah It’s been that kinda week ..but I have had some great friends who have taken me by the hand and led me through this minefield called life.
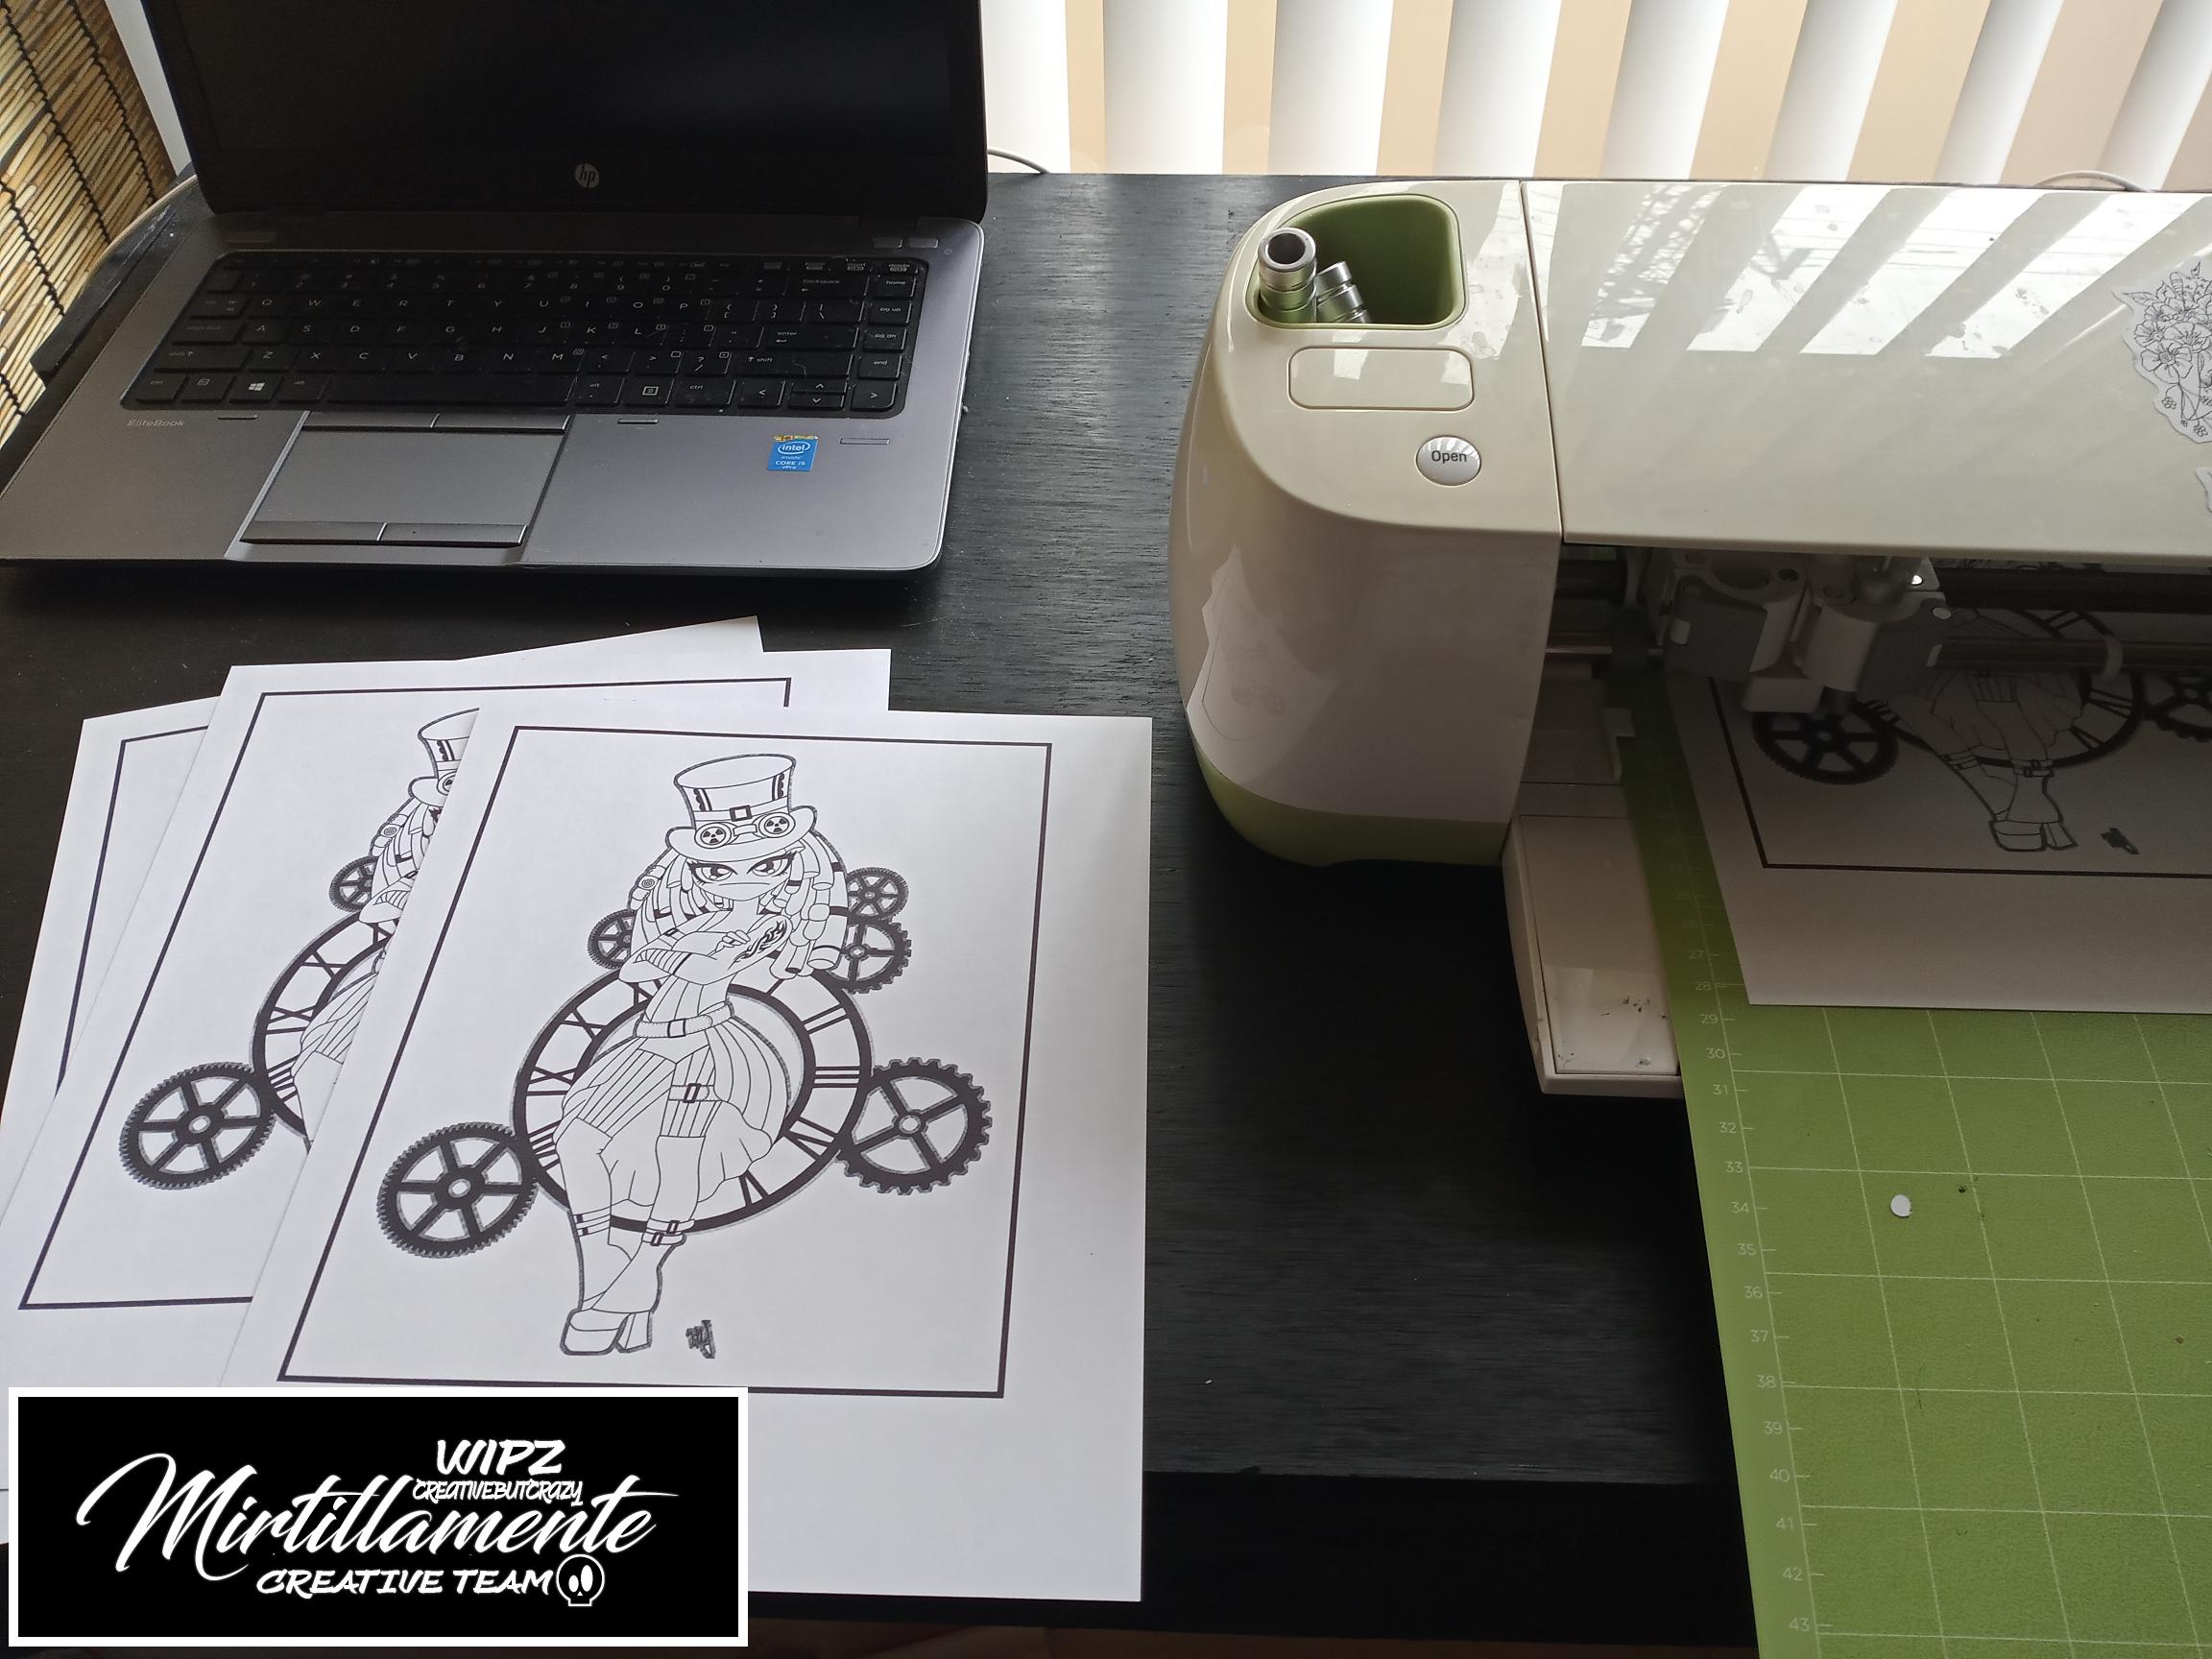
Step 1.
I uploaded the image into Cricut Design Space, chose print and cut and set it to 6 cuts.
If you don’t do a lot of projects using this technique, I would recommend printing an extra to keep on hand in case of mistakes or you decide you need more layers than first thought. If you don’t use it, you can always save it for a future project.
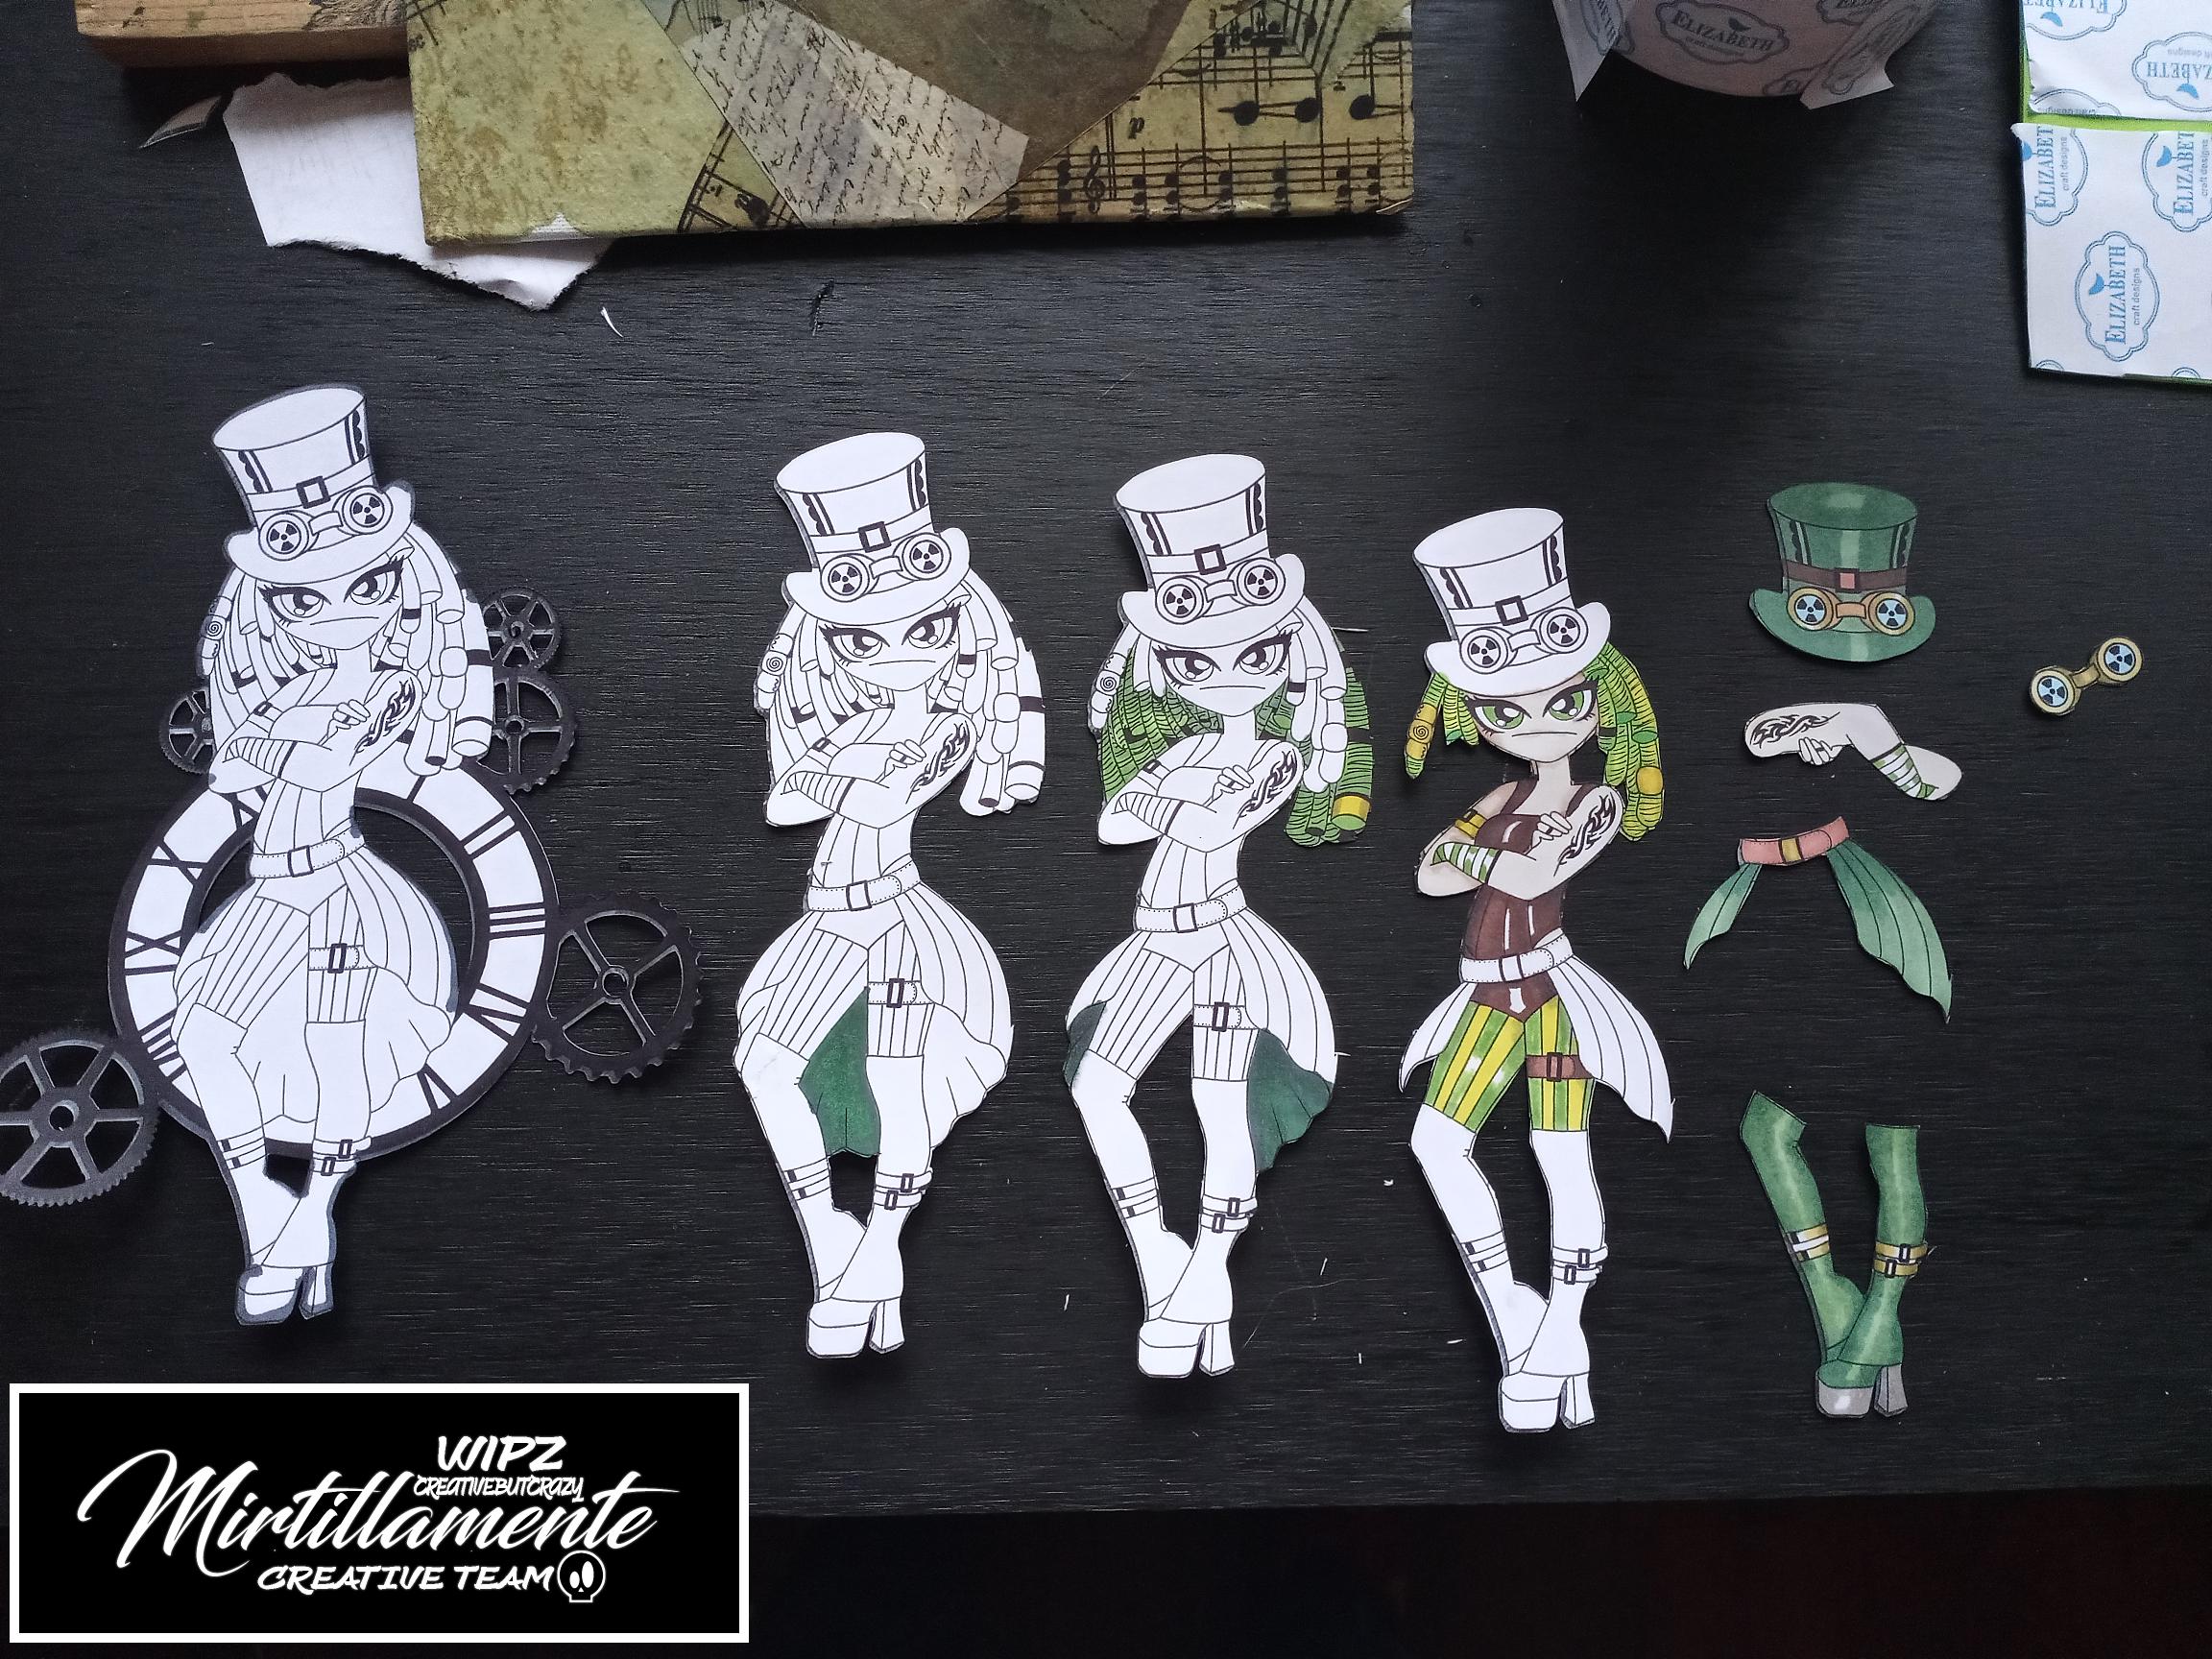
Step 2.
Once I had all of my cuts done, I planned out my layers and started cutting them with scissors and an exacto knife.

Step 3.
I start coloring from the top layer down. Usually I would color at least the edges on all layers so that they are not so noticeable in the end project. I chose to leave these uncolored to show the technique more clearly and simply colored the edges. I used Zig Kurecolor #731 Pale Beige and Chameleon BR5,BR2,YG3, GR2, GR4,OL3 YL2, YO2,BK4 and BL3
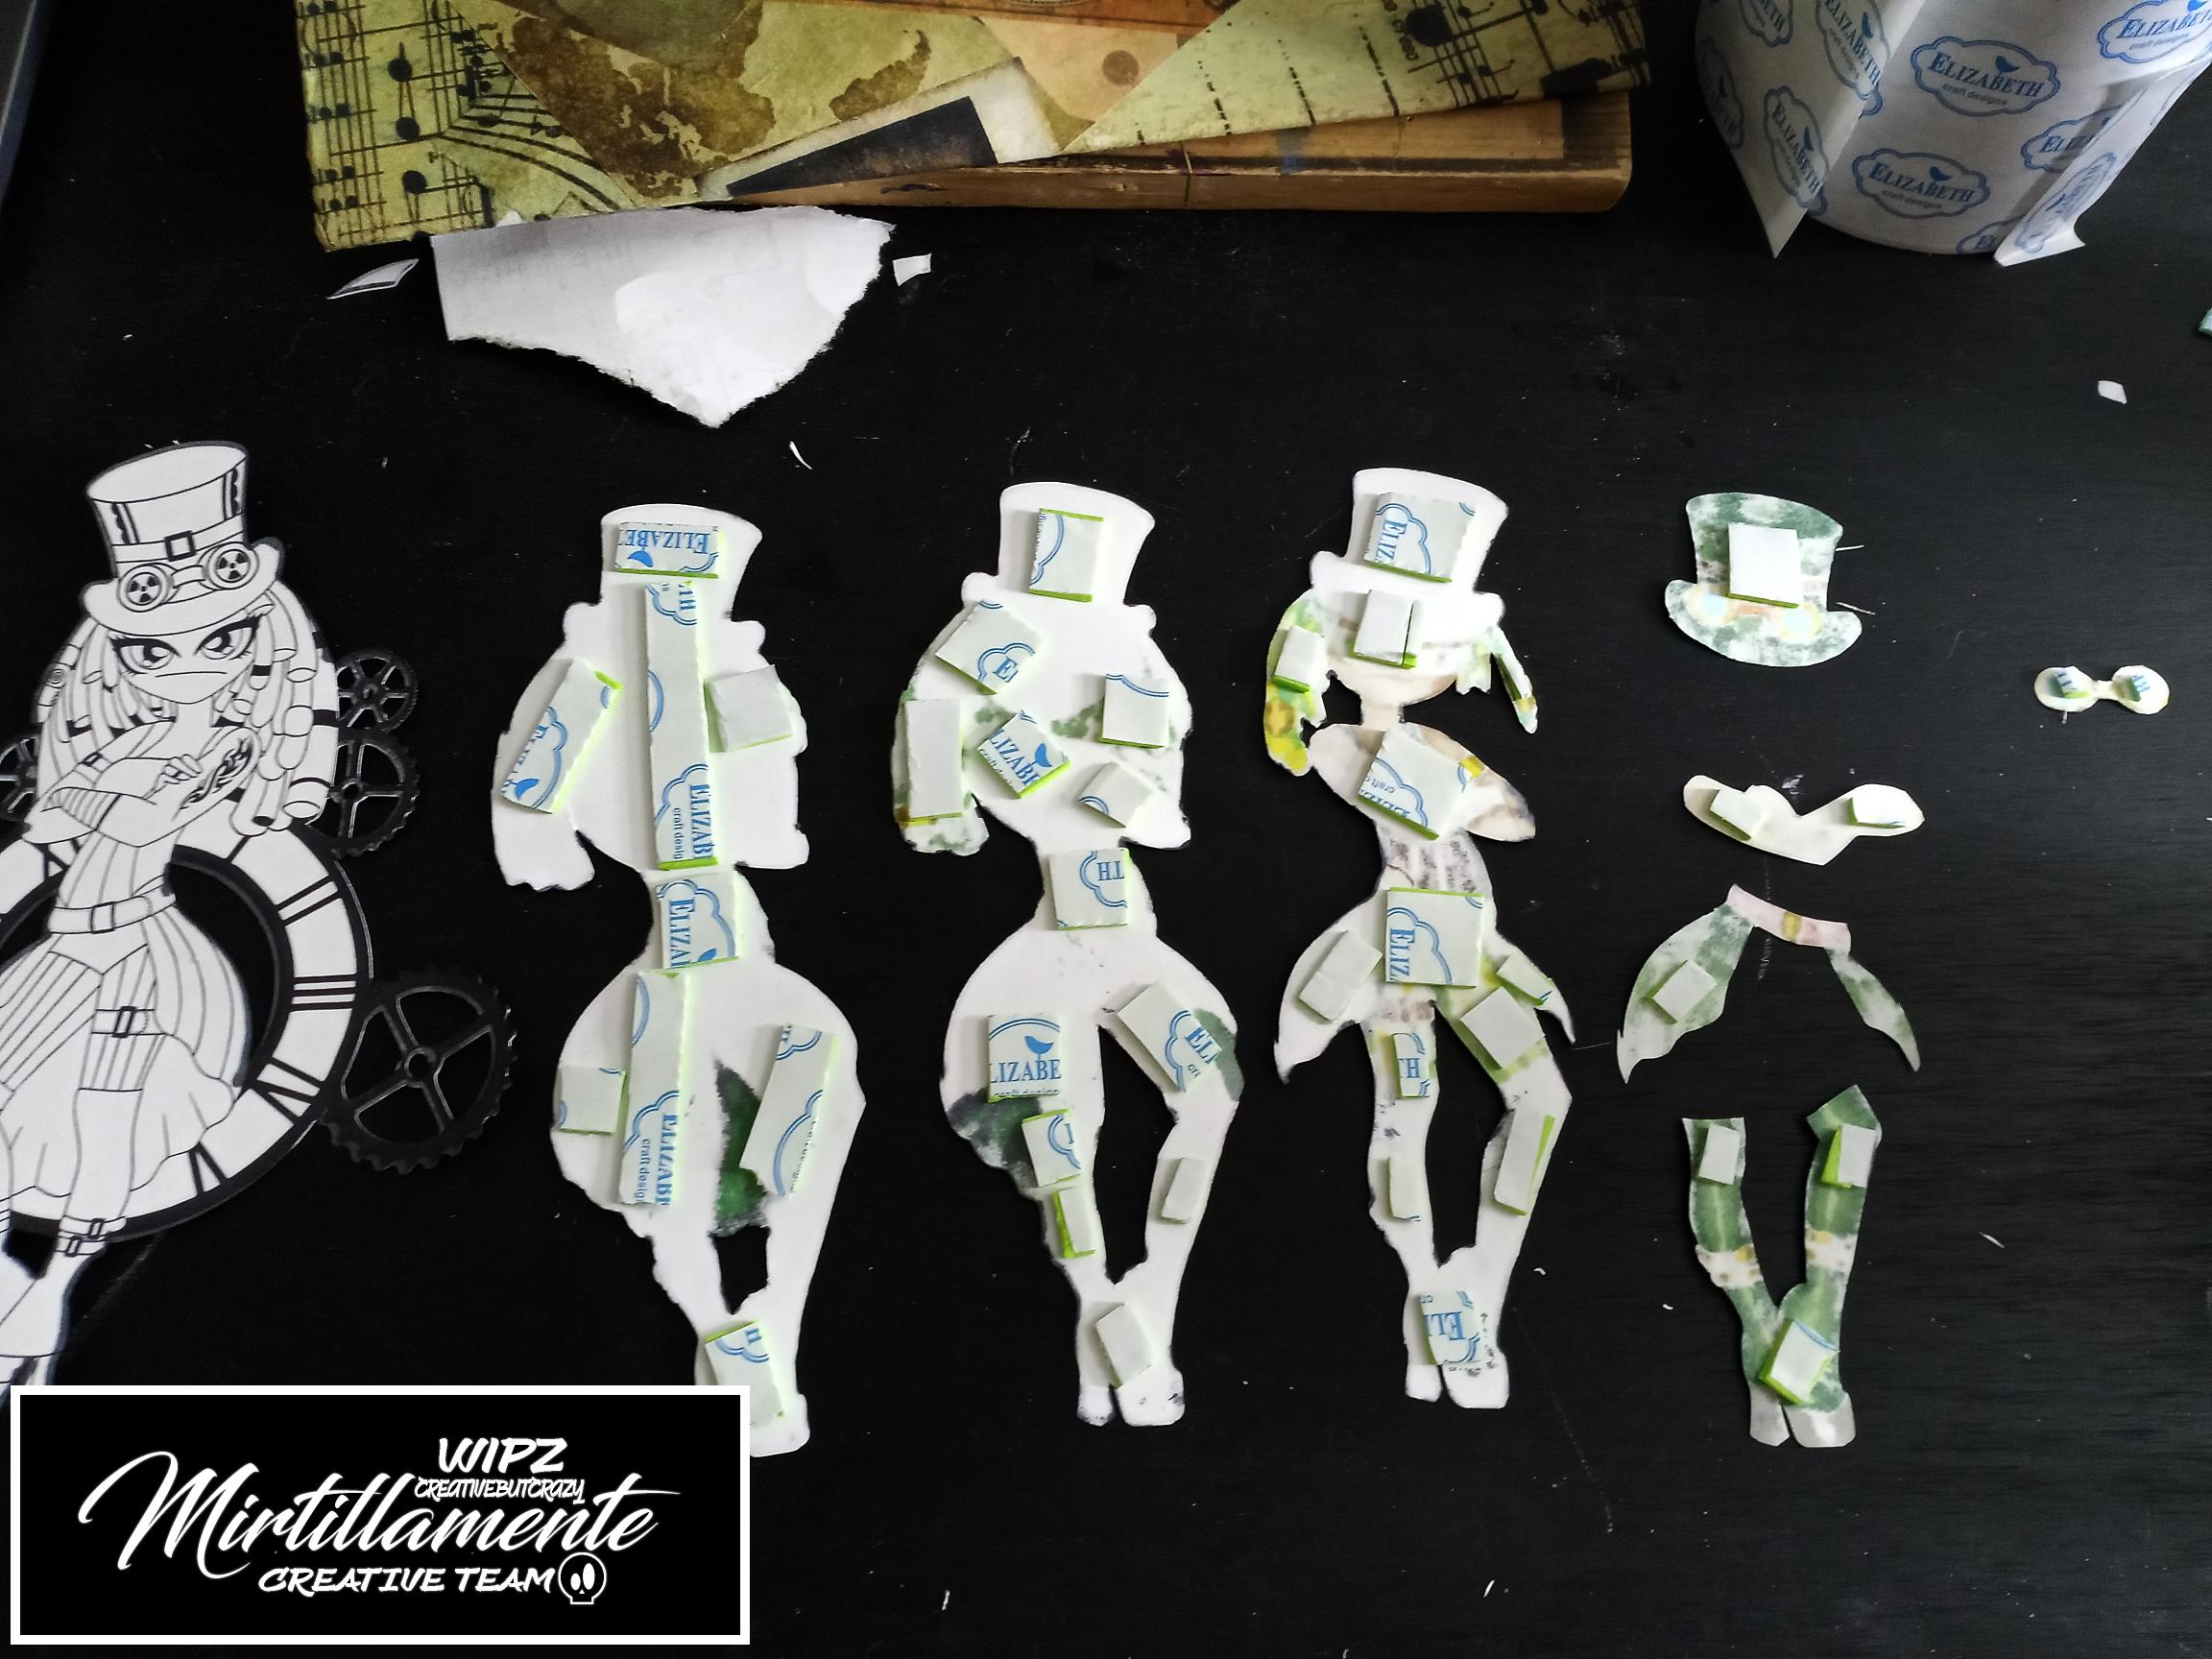
Step 4.
I padded the layers with Darice adhesive foam sheet using 6 inch wide double tape from Elizabeth Designs to apply adhesive to the other side. Sometimes I pad out the entire image when it is a single layer, but for this project I cut it into smaller pieces and attached it to the underside of each layer.
Step 5.
I glued the vintage papers to the canvas panel using a diluted mix of Mod Podge and water similar to the technique used when decoupaging paper napkins to projects.
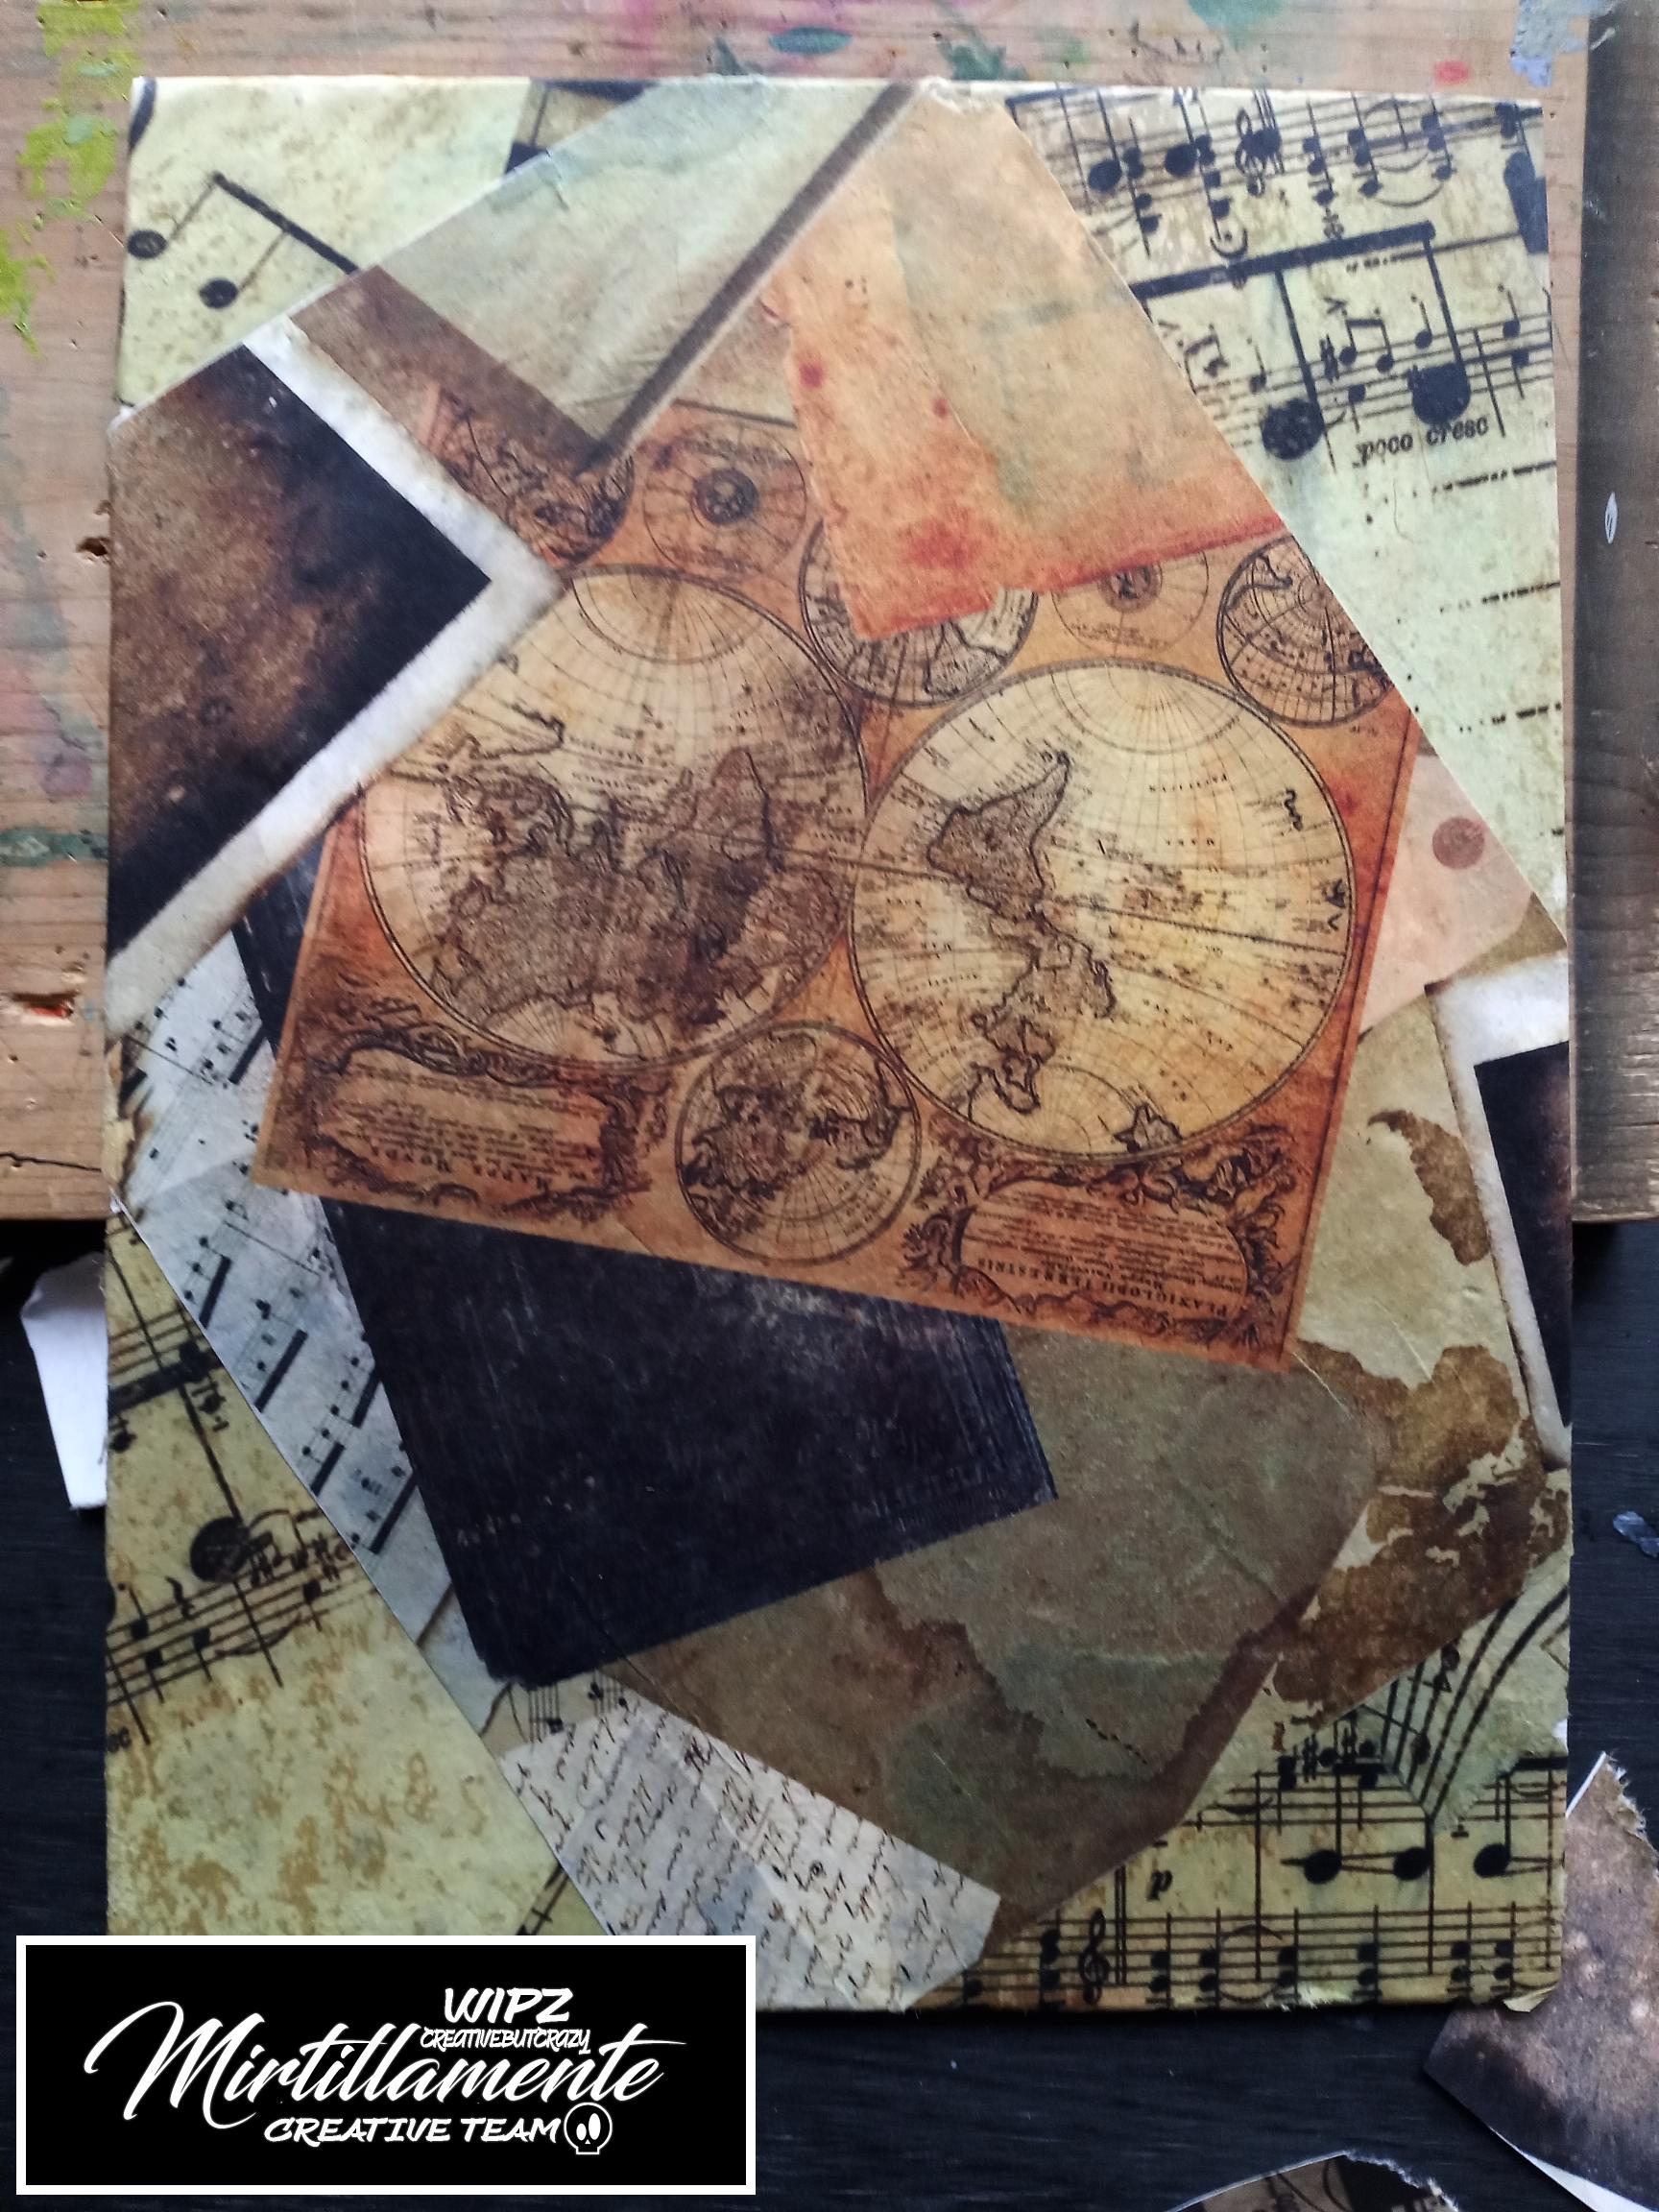
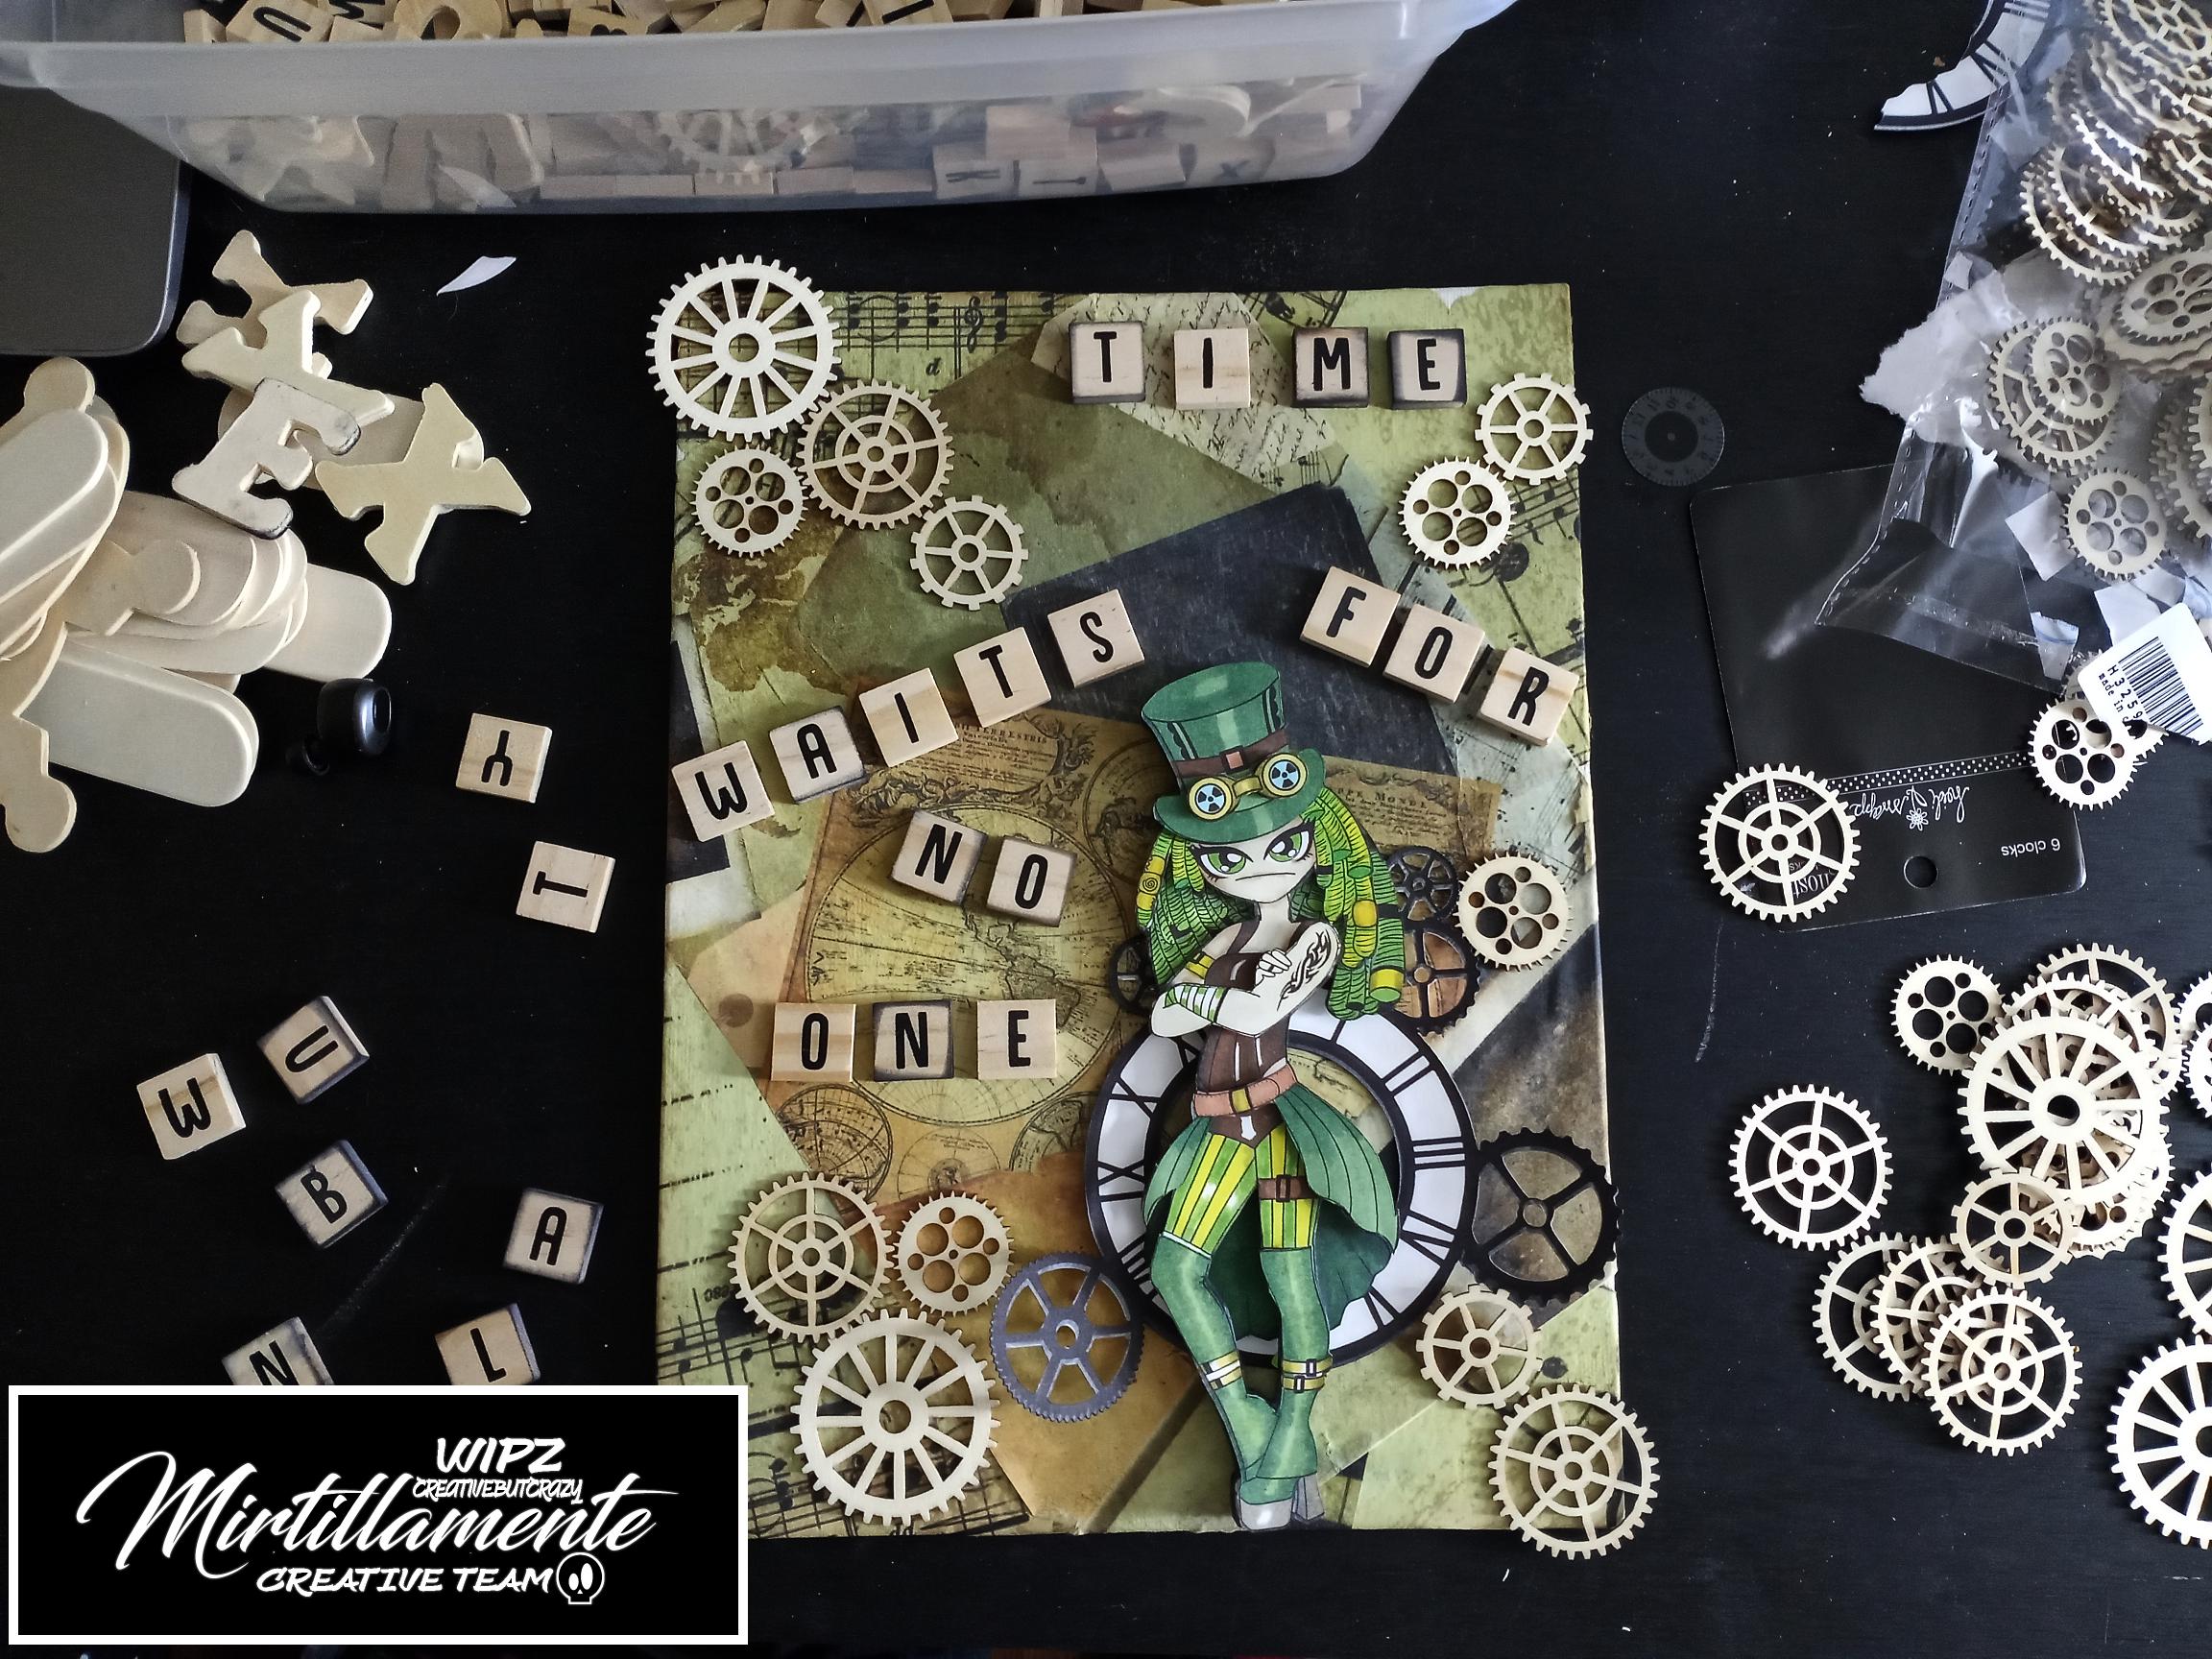
Step 6.
I decided on the layout for the project and then inked all of the wooden embellishments using Craft Smart dye ink pads in black, light blue, green and brown. The canvas edges were inked using black and the gears and scrabble tiles in all 4 colors.

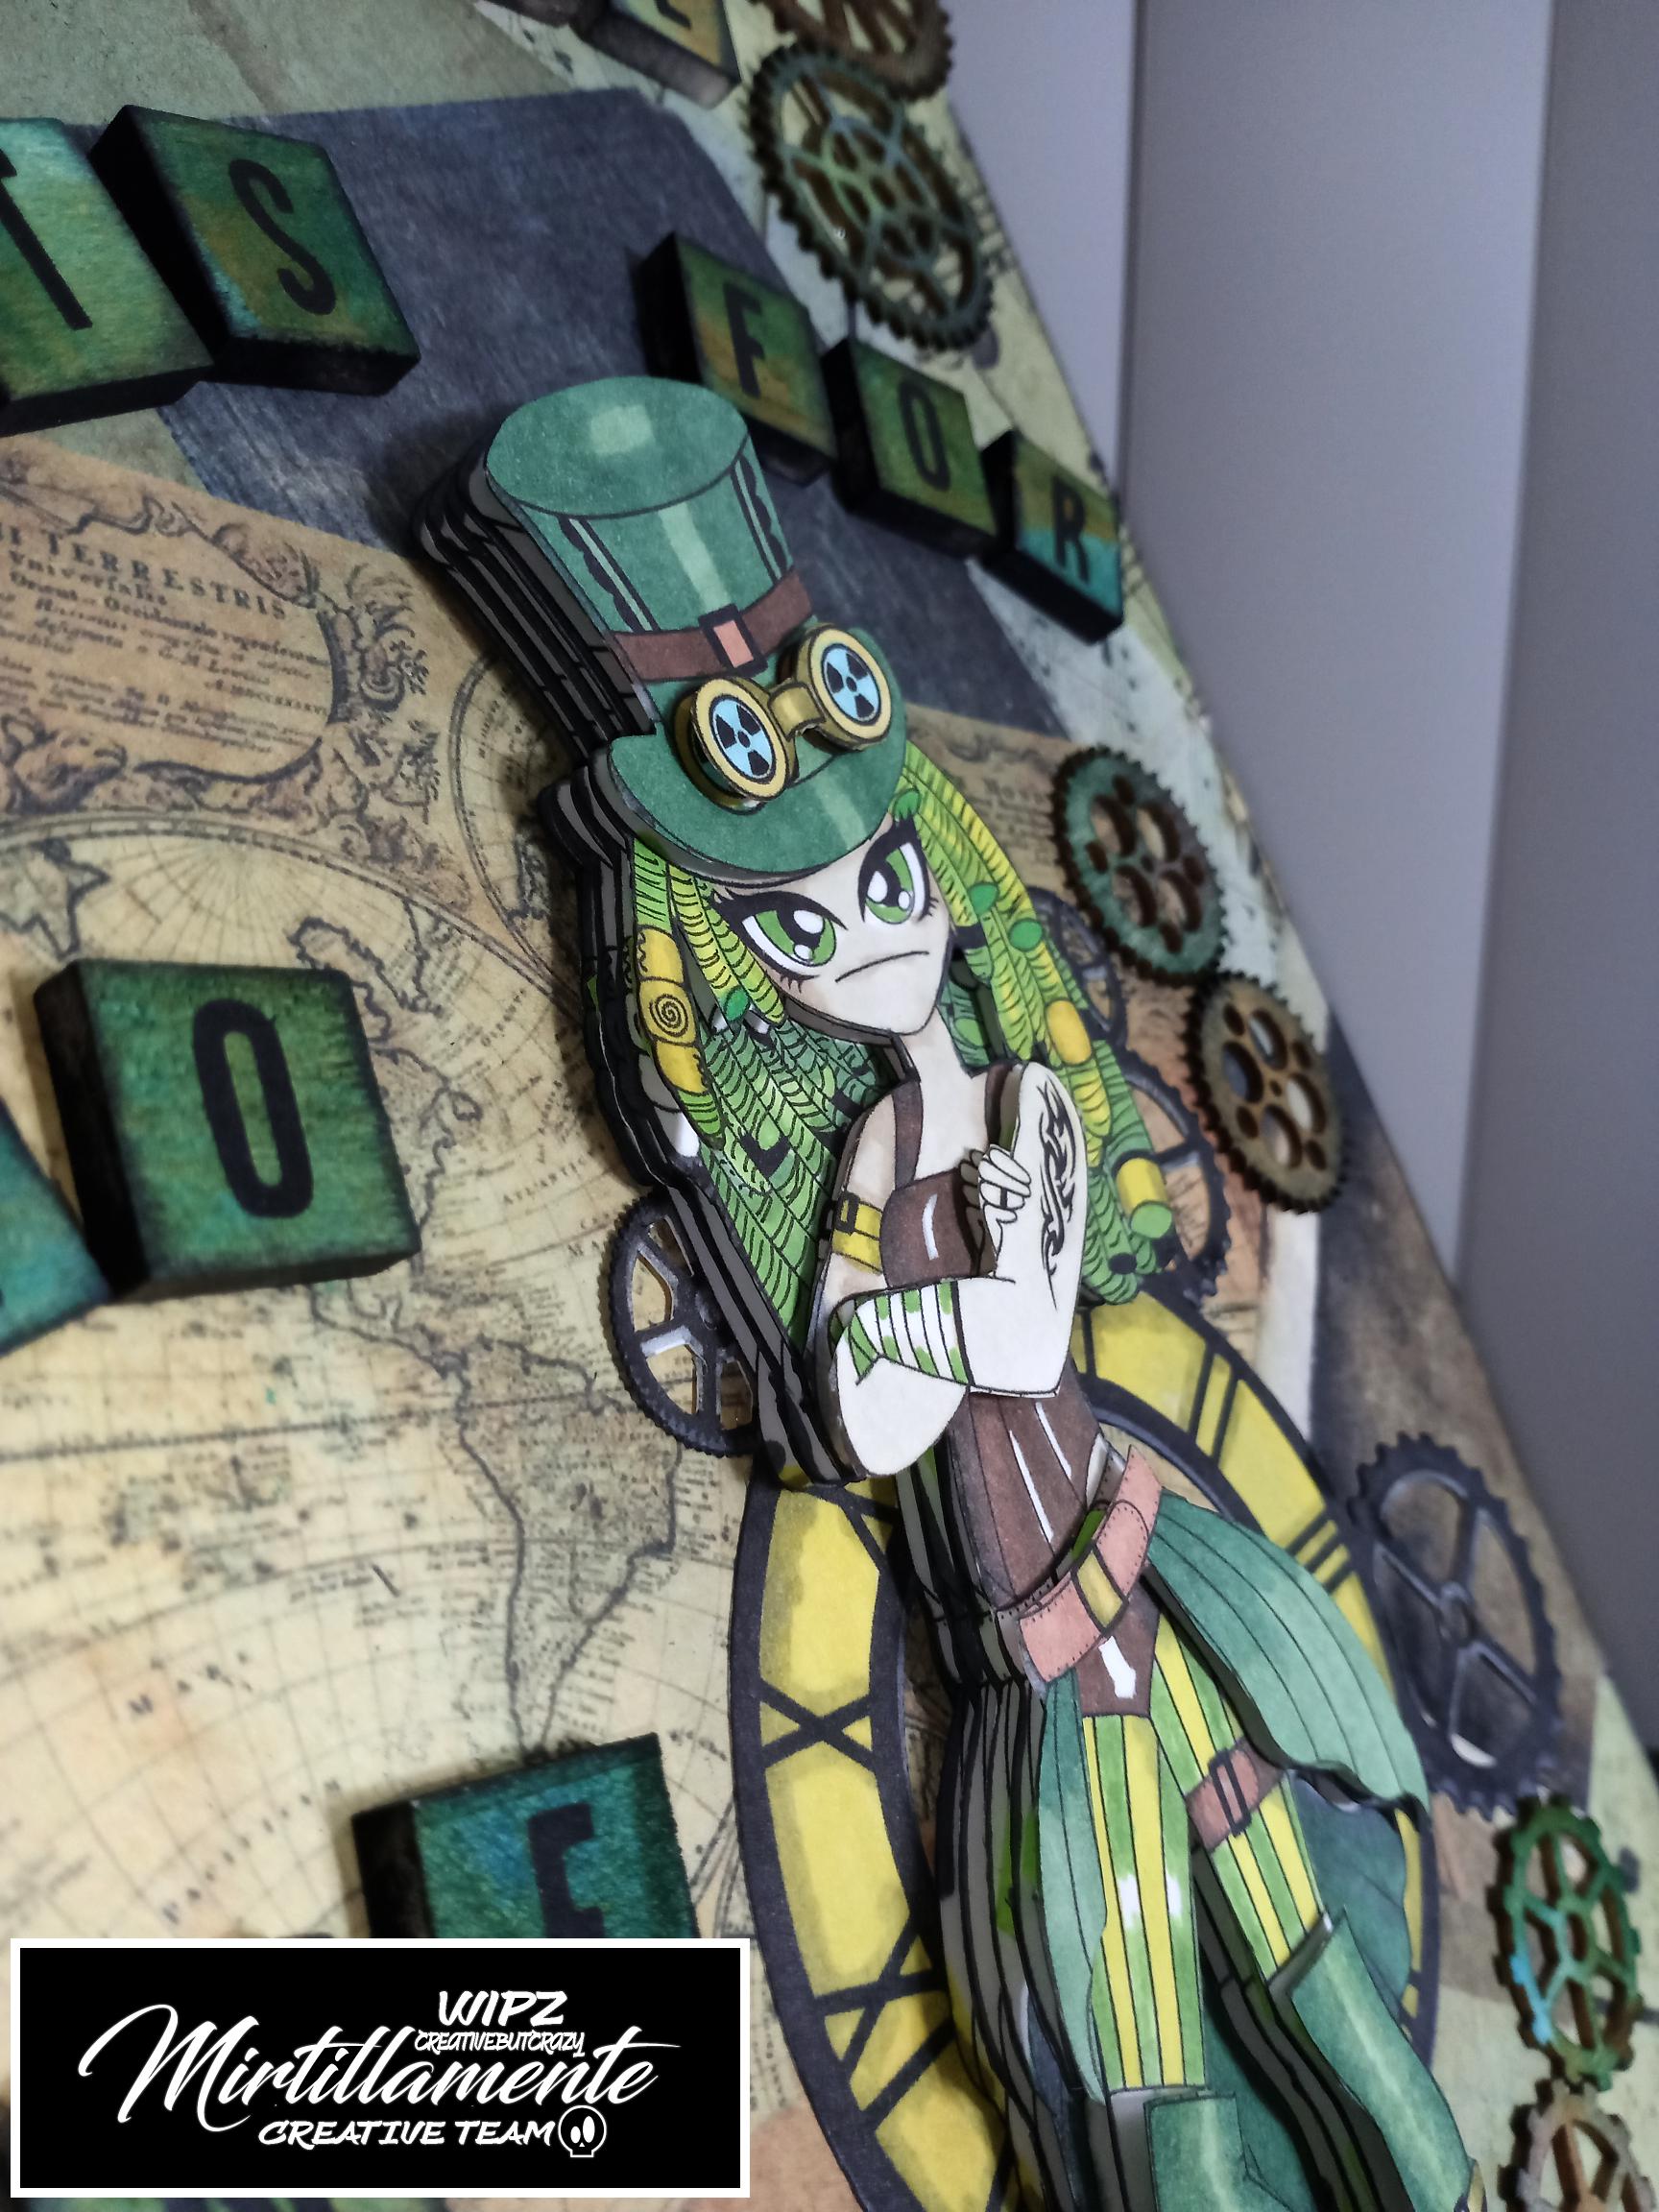
Close up showing the layer formation for this 3D decoupage image.
facebook.com/groups/mirtillamente
Supplies
Cricut Explore
Epson Ecotank printer
scissors and exacto knife
Paint brushes
Pen Gear 110lb Card stock
Mirtillamente digital papers VINTAGE PAPER
Mirtillamente digital stamp SO’GETTA STEAMPUNK GEARS
Artlicious 9×12 flat canvas Panel
Mod Podge
Aleene’s Tacky Glue
Elizbeth Designs double sided 6 inch wide tape
Adhesive backed foam
Scrabble letters
Wooden Gears
Craftsmart dye inkpads black, light blue, brown & green
Chameleon pens
Zig Kurecolor pen


